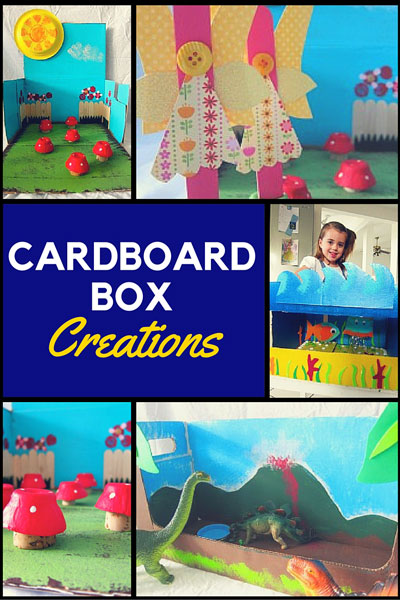
Cardboard Box Creations
“Blessed are they who see beauty in humble places where other people see nothing.”
– Camille Pissarro
I seem to collect cardboard boxes. Once filled with useful things, they become empty and seemingly useless, filling up a corner in the laundry until they are eventually flattened and recycled. Then one day, when I watched my small son playing with his toy dinosaurs – stomping them through an imaginary carpet forest; flying them over a dining table top canopy; dancing them around a soft cushion swamp… while constantly being chased away by two big, bossy fairies – the carpet their meeting ground; the table their castle; the cushion their bed… I realized those cardboard boxes may be useful after all.
In less than an hour, my son’s dinosaurs found a new home – an empty, almost-thrown-away box was transformed into a prehistoric land, complete with its own volcano – and he couldn’t have been happier! (Because “Dinosaur Land” was no place for a beautiful fairy!)
Since then, we have made several of these cardboard box creations…

This isn’t a tricky activity, nor does it take much time – imagination is the only limitation. Boxes can easily be transformed into an underwater scene, a jungle full of tall trees and tangled vines, a towering castle, a land of ice and snow, a sandy beach or even a zoo. And on a lazy summer afternoon – once we’ve splashed, swum and chased each other in the water; after we’ve run, raced and danced around outside – it’s the perfect thing to do inside together – create an imaginary world.

How To Make A Cardboard Box Fairy Garden
You need:
- 1 large cardboard box
- Paint (blue, brown, green, yellow, red, white)
- 1 kitchen sponge, cut into 4 pieces
- Paintbrush
- 1 small paper plate
- 9 jumbo craft sticks
- 6 egg cups from an egg carton, trimmed to a round shape
- 6 corks + 1 extra
- Dark green felt
- A few small buttons
- Craft glue
- Duct tape
- Scissors

You do:
1. Cut the box so that it sits openly like the picture here, then sponge on blue for the sky, brown for the ground, and once dry, green for the grass.
2. Using a sponge, paint one side of the paper plate yellow, then set aside to dry.
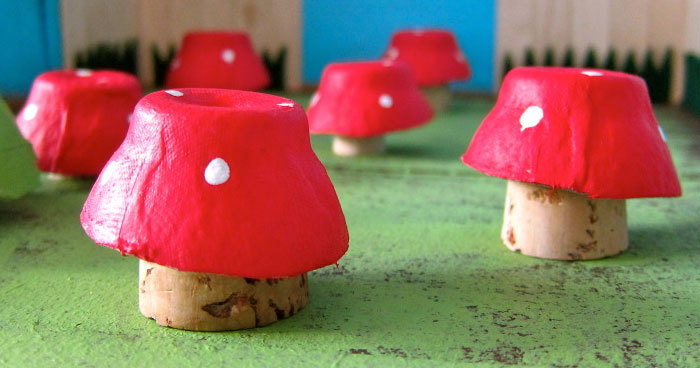
3. Paint the egg cups red and set aside to dry.
4. Glue the craft sticks and felt on to make a small fence. Use the extra cork to stamp some red circles above the fence line for the flowers. Glue a small button to the centre of some of these.
5. Glue the corks onto the base of the box. Glue a red egg cup onto the top of each of these. Using the wooden end of the paintbrush, dot on some white paint for the spots.
6. Attach the yellow paper plate sun to the top of the box using some duct tape, then with white paint, sponge on a cloud. Allow to dry, then it is ready for play!

We also decided to make a pattern on the sun by dipping pieces of lemon into orange paint and stamping these onto the paper plate. Our little fairies are made from a jumbo craft stick and cut out pieces of scrapbooking paper. The boxes don’t take long to dry, as long as the paint is sponged on in a thin layer.
“Think left and think right and think low and think high.
Oh the thinks you can think up if only you try!”
(Dr. Seuss)
About Kristina: Born and bred in Australia (with several years also spent living in the mid-west of the US), she now lives on the beautiful island of O’ahu, Hawaii. She is the mother of two beautiful, young children. Kristina is passionate about cooking and teaching her children the importance of healthy eating; from trying to grow things in the garden, to creating simple meals and treats. Follow Kristina on Facebook.
PIN IT FOR LATER:


