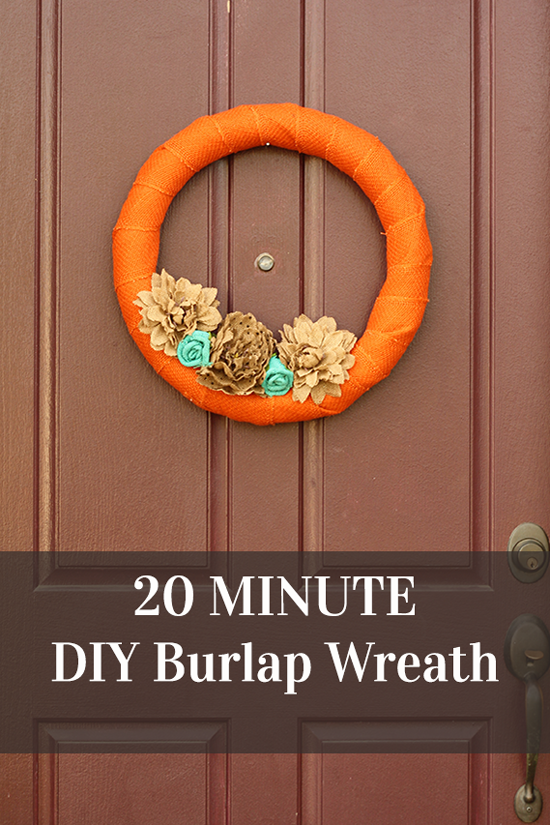
DIY Fall Burlap Wreath
I’ve been ready for fall, well, for a while now. If you’re a regular reader on my blog, Chaos & Love, you’ll definitely know that already. If you’re not, then yay! You won’t mind if I talk about it some more.
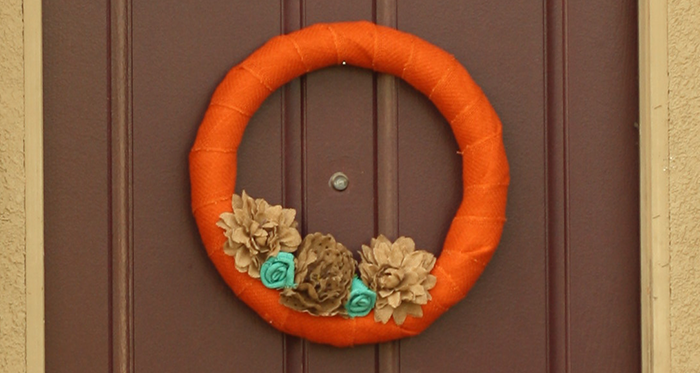
In my endless attempts to send away the summer and bring on the fall here in Southern California, I have been putting up fall touches for a while. This burlap wreath, for example, has been up almost a month. And it will probably remain up until we pull out the Christmas decorations in December.
The best thing about this burlap wreath is how crazy easy it was to put together. Twenty minutes – no joke.
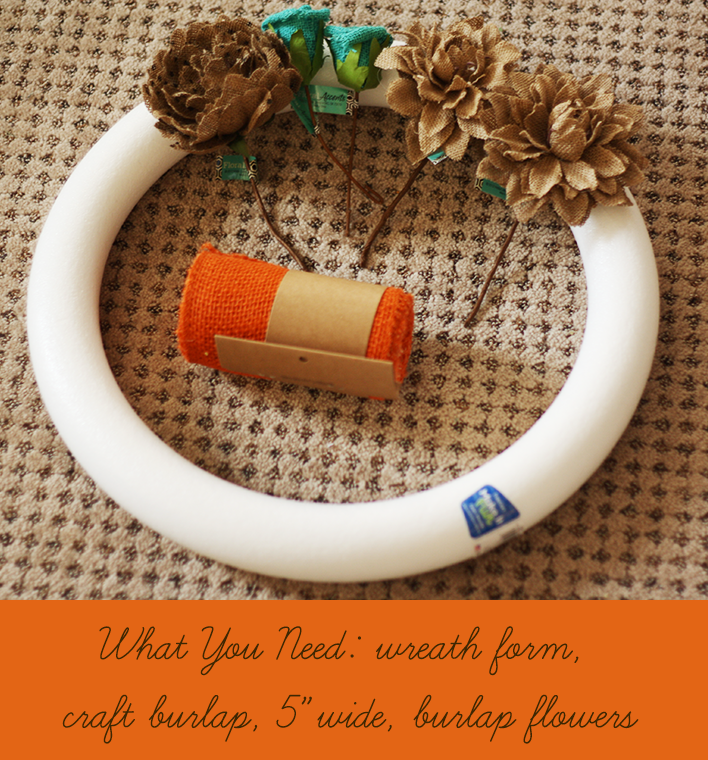
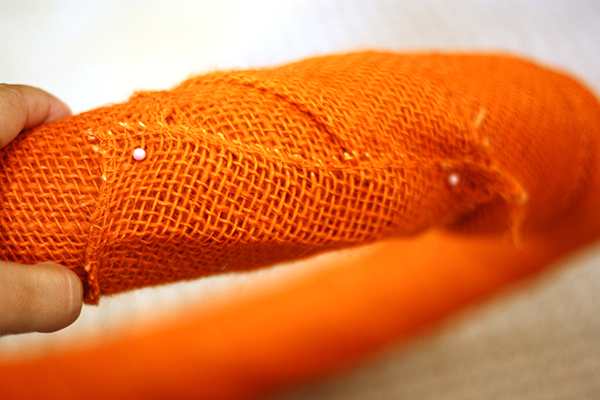
All you have to do to put this wreath together is wrap your 5″ burlap around the wreath form (I did it twice to cover the white foam of the wreath form) and secure with straight pins. This photo shows ball head pins, but I actually used ones without – just wanted you to see how I secured the burlap.
Once that was firmly in place, I added the burlap flowers. These were the trickiest part of the wreath. If you happen to have a second set of hands, they will come in really handy while you affix them. If not, just hold it between your knees like I did.
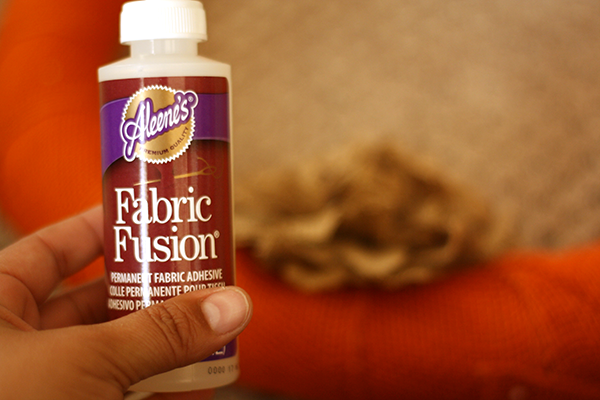
Add the flowers one at a time by removing the stems and pinning in place with more straight pins. Once you’ve done that, add some fabric glue between the flowers and wreath just to keep them securely in place. Make sure some pins are at an angle so they don’t get lost in all the burlap.
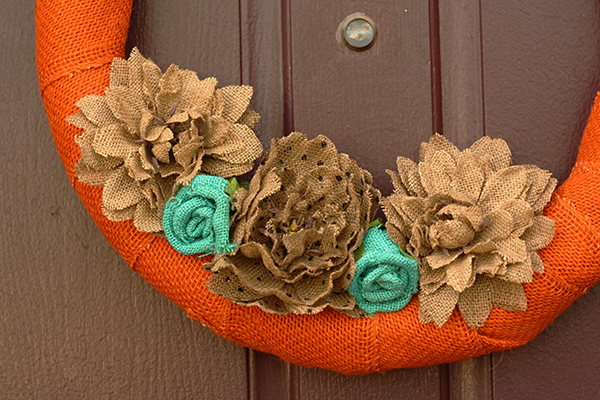
Allow the glue to dry and then that’s it! I hung mine directly on a nail in my front door but you could definitely tie a large piece of ribbon around the top and hang it that way. Either way, it will look fab. And if you use a bright color of burlap, you will get lots of compliments from people walking down the street. I do. 🙂
PIN IT FOR LATER: