DIY Red Envelope Eco Pillow Tutorial by Melissa Whitcher of Redfly Creations

BonBon Break

DIY Red Envelope Eco Pillow Tutorial

~:: by Redfly Creations ::~

DIY Red Envelope Eco Pillow Tutorial by Melissa Whitcher of Redfly Creations
Years ago my husband bought me a really neat gift from Red Envelope.  One of my favorite things about the gift was the beautiful red box it was mailed in.  Since then, I have kept Red Envelope on my radar.  I love visiting their site and seeing what neat things they have for sale.  Recently, I came across their new Eco Pillows.  I immediately fell in love with their beauty and simplicity.  From that moment, a knock-off Eco pillow became a part of my to-do list.

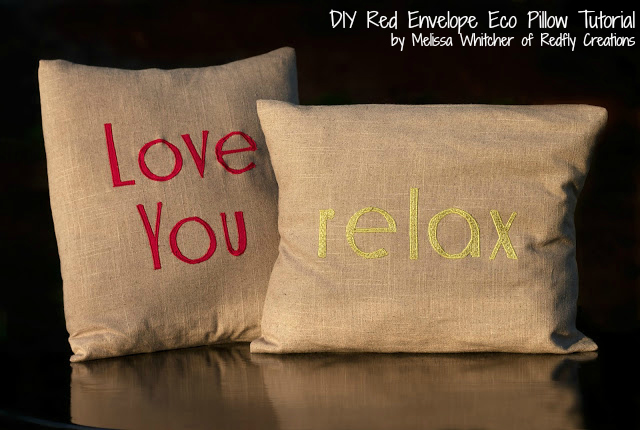
Today, I am excited to share this pillow pattern with you.   There are two styles you can make, but the pillow cover is the same for both.  The finished size is 14″ x 18″.  Below is the simple tutorial with a free downloadable template.

Tutorial – Pillow Cover

1.  Cut a piece of fabric that is 19″ x 35″.  I used a linen-like fabric.  This piece of fabric is the base of the whole pillow.

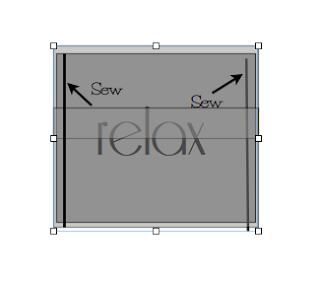
2.  Fold the fabric so that there is a main piece that is 14″X 19″ and underneath the fabric is overlapping.  Iron down where the folds are.

3.  Print out the Pillow Template.

DIY Red Envelope Eco Pillow Tutorial by Redfly Creations


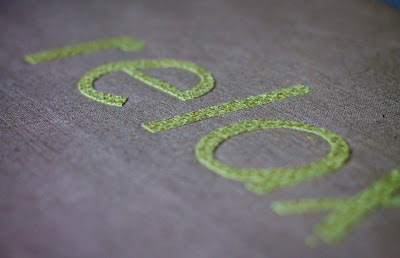
4.  Place the template face down so that the words are backwards.  Take a piece of Heat ‘n bond iron on adhesive  LITE {rough side down, smooth side up} and trace the backwards letters onto the Heat ‘n Bond.

DIY Red Envelope Eco Pillow Tutorial by Redfly Creations
5.  Iron the backwards letters onto the back of your fabric for about 6 seconds.  Don’t move the iron around.  Just lay it down, count, pick it up, and then lay it down in another location.  Once again, the rough side should be down and the smooth side up.
DIY Red Envelope Eco Pillow Tutorial by Redfly Creations
6. Cut out the letters, peel off the back and iron them in place.  Center them on the 14″ x 19″ piece.  Then, stitch with a tight zigzag stitch all around the letters.
7.  Now, turn the piece inside out.  The words should be laying flat, facing up towards you.  Fold the fabric over the words so that what used to be the fold underneath is now folded on top.  Sew-up each of the vertical sides about 3/4″ from the edge.
DIY Red Envelope Eco Pillow Tutorial by Redfly Creations
8.  Turn right side out and push out the corners.  Stuff with your pillow form.

P.S. If you would like this to be a stuffed pillow and not a cover, simply cut two pieces of fabric that are 15″x 19″.  On one of the pieces apply the letters.  Then sew the two pieces together, turn inside out and stuff.

Happy Sewing!!


melissa redfly creations ABOUT MELISSA: Melissa Whitcher is a stay-at-home mom to her three wonderful children and husband. She lives in Northern Texas and loves to create. As an outlet for the constant ideas going around in her head, she started Redfly Creations in 2011. Redfly Creations is a blog to help you make everything in your life more more organized, practical and beautiful.

Follow Melissa on Facebook or Pinterest.


CONTINUE READING IN THE MOM CAVE

Don’t miss a bite! Click here to follow Bonbon Break on Facebook

This post was written by Melissa Whitcher of Redfly Creations exclusively for Bonbon Break Media, LLC.